If you have more time, give these shots a try:
- The view from your campsite looking out
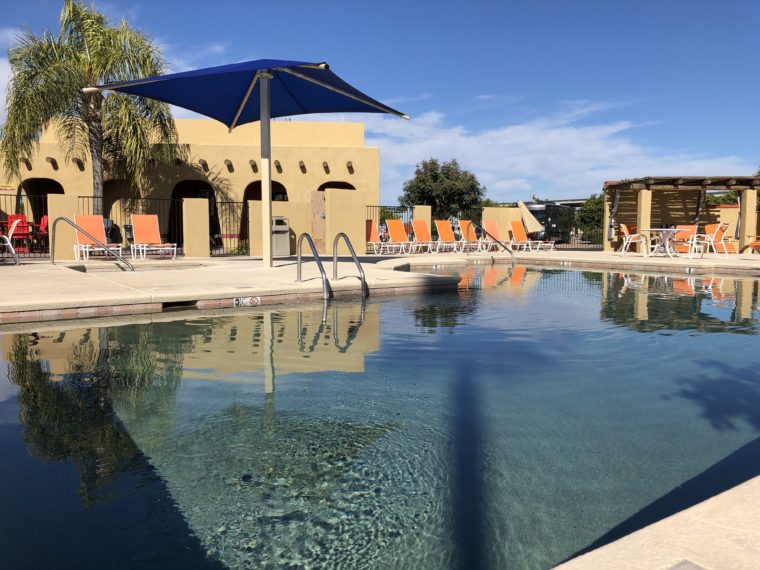
- Cool campground features: does it have a pool, a neat game room, a good dog walking area?
- Great scenery seen from the campground or camping area
How to Frame Your Shot
Taking a moment to frame your shot is the fastest and easiest way to bump a photo from “good” to “excellent.” To compose a well balanced and visually-pleasing shot, try the Rule of Thirds.
The Rule of Thirds breaks down each shot into nine boxes by drawing two lines vertically and two lines horizontally. You can do this in your minds eye, but even easier is to turn on the Rule of Thirds grid on your phone or camera (typically just named “grid” in your settings).
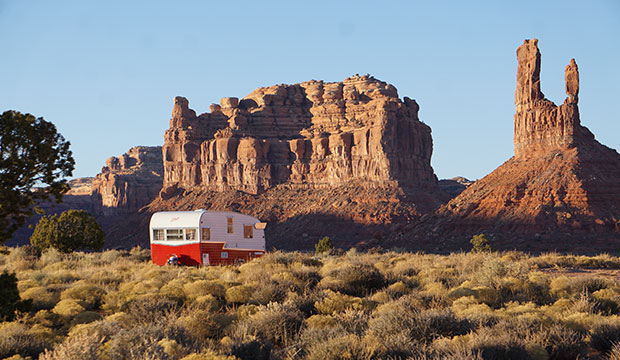
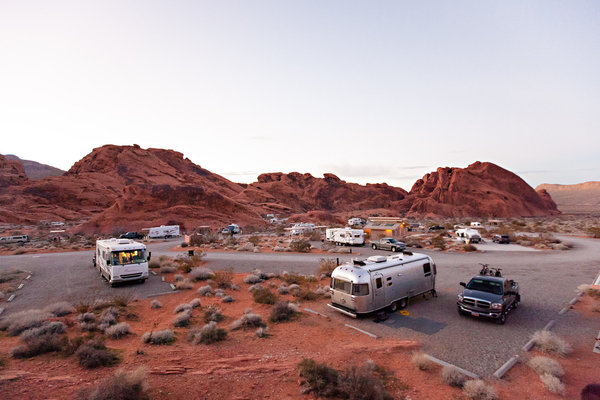
Valley of the Gods – Photo by: Chris
For a failsafe composition place your subject–in this case your camper or tent–in one of the four places where the lines intersect. We’ve found that campers and tents do best in one of the two lower intersections, leaving plenty of room to see what is around it. The Rule of Thirds is useful no matter what your subject is!
Another tip for a great composition is to keep an eye on the horizon line. The horizon line may be the actual horizon, or any strong horizontal line in your shot. Place the horizon either on the top or bottom lines in your Rule of Thirds grid.

Upper Teton View – Photo by: Joe Hendricks
A good exception to this rule is when shooting a horizon with near perfect symmetry, such as a sunset reflecting on a lake.
Editing Your Photos
Most images could use a little bit of editing once they are captured. If you have the time to edit the photo, here are a few ways to go about it.
Valley of Fire State Park – Photo by: Currently Wandering
All phones with cameras have some form of basic editing software built in. Tap “Edit” from the image itself and look for an icon that looks either like a magic wand or a +/-. Tapping the icon will apply a basic set of edits to the image to help balance out the lighting, colors, and contrast. If you’d like more editing control on your phone, check out free photo editing apps such as Snapseed, VSCO, and Adobe Photoshop Express.
Downloading images onto your computer will allow you even more photo editing opportunities. Most computers have photo editing software installed (such as “Photos” on an Apple computer), and many paid applications exist that can provide everything from basic editing to advanced layering and manipulation. Popular applications include Adobe Lightroom and PaintShop Pro.
Photo editing software on a computer allows for fine-tuned adjustment of lighting, contrast, saturation, and white balance. They can also correct issues like lens distortion, over-or-under exposure, and blemishes.
What to Avoid When Taking a Picture
There are a few common challenges we see with campsite pictures. These challenges can chip away at how useful the image is for the community members researching their next campsite. Luckily, they are easy to avoid.
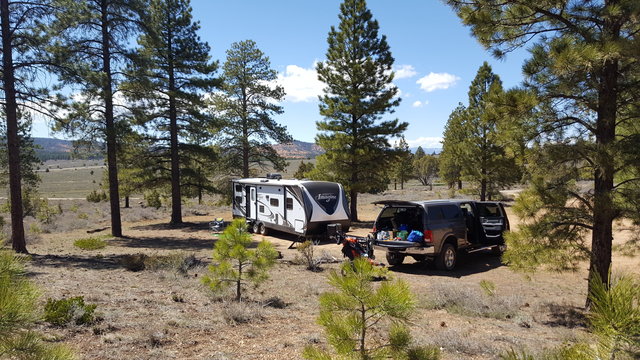
- Placing the camper too high in the frame: Campers as a subject are tricky, because if you place them too high in the frame you get more ground than surroundings. Try moving the camper to one of the lower corners in the Rule of Thirds.
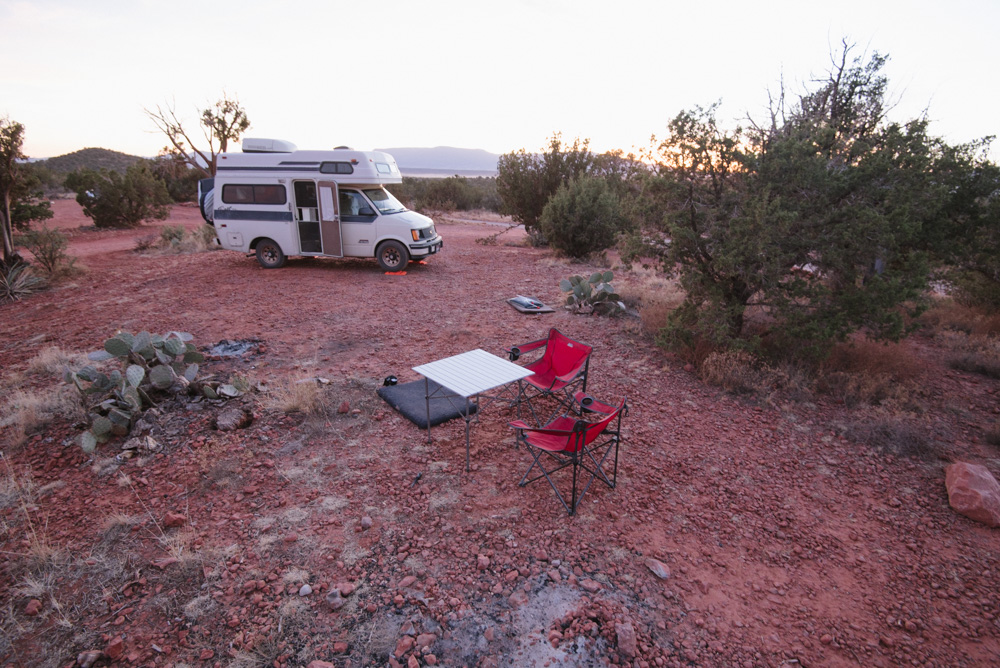
Loy Butte Road – Photo by: Sara Sheehy
- Shadow-bombing your picture: On a sunny day your shadow can create a long, distracting gash through an image. Try switching up your angle such that your shadow doesn’t “shadow-bomb” your photo. Also, keep eye out for reflections of yourself in your camper or vehicle.
- Go easy on filters: Instagram has made photo filters popular, and for good reason. They can take an ordinary image and make it extraordinary. Some filters enhance a natural look, and some take things a bit further. Try to stick with a more natural look so that your fellow travelers can really picture themselves in the scene.
Bonus: How to Shoot a Campendium Cover Shot
Every month a new cover shot graces the front page of Campendium.com. Our team scours the images uploaded to Campendium to make a selection. Want a chance at next month’s cover? Here’s what you need to know:
- Cover images need to be at least 2000 px wide.
- When framing your shot, take into consideration the Search Box and the credit bar at the bottom. Make sure key elements won’t be hiding behind those.
- Take the image from far enough away to get both the camper and the beautiful surroundings.
- Upload your shot to the appropriate campground or camping area.
- Bright, colorful photos make for a cheery welcome to Campendium.com.
From one traveler to another, thank you for uploading your photos onto Campendium. I love finding that perfect campsite and photos are a big part of my research. They truly capture the spirit of a place. Thank you for your contributions, and cheers!